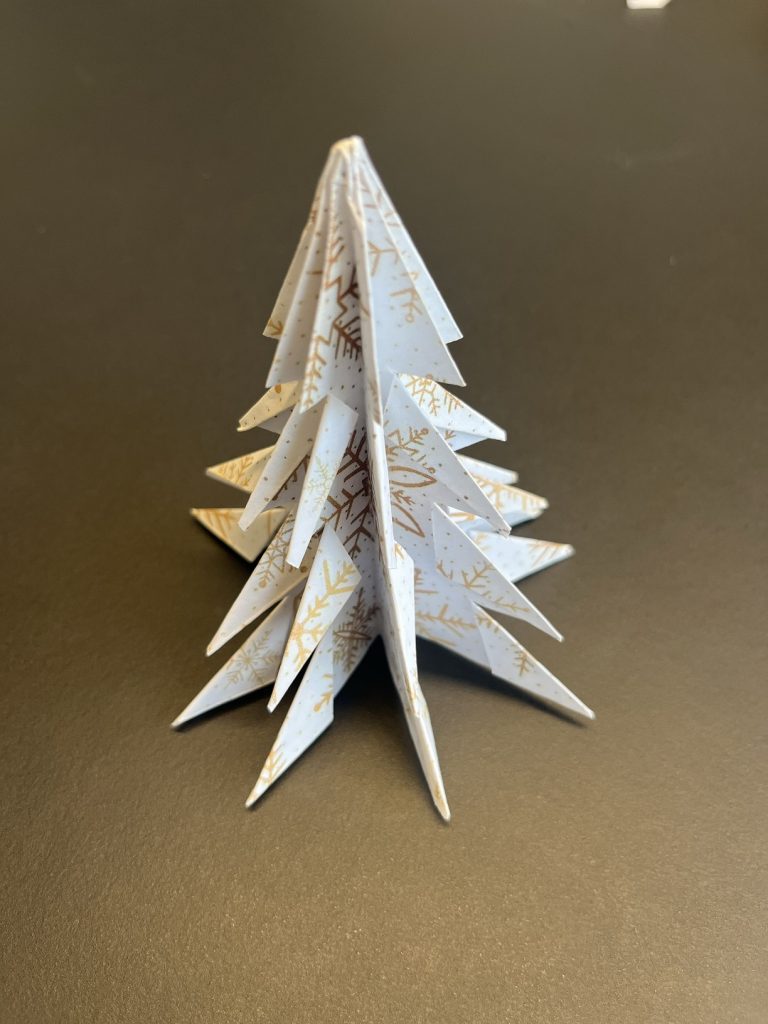
Are you excited to create a beautiful origami tree?! We sure are!
@life_at_redecor Make an Origiami #Christmas tree with the #Redecor team! 🎄🫶 #DIY #design #CapCut ♬ original sound – Life at Redecor
Here’s what you’re going to need:
Thin Decorative Paper
Pencil
Ruler
Scissor
origami paper \ scrapbook paper \ Gift Wrap \ Wrapping Paper \ Magazines \ Maps
middle-size trees 10×10-inch
Instructions:
-
Start by laying your square sheet of paper down with the white side facing up.

- Fold it in half edge to edge. Open your piece of paper back out and fold it in half again this time in the other direction.
- Open back out and fold in half again this time across both the diagonals.
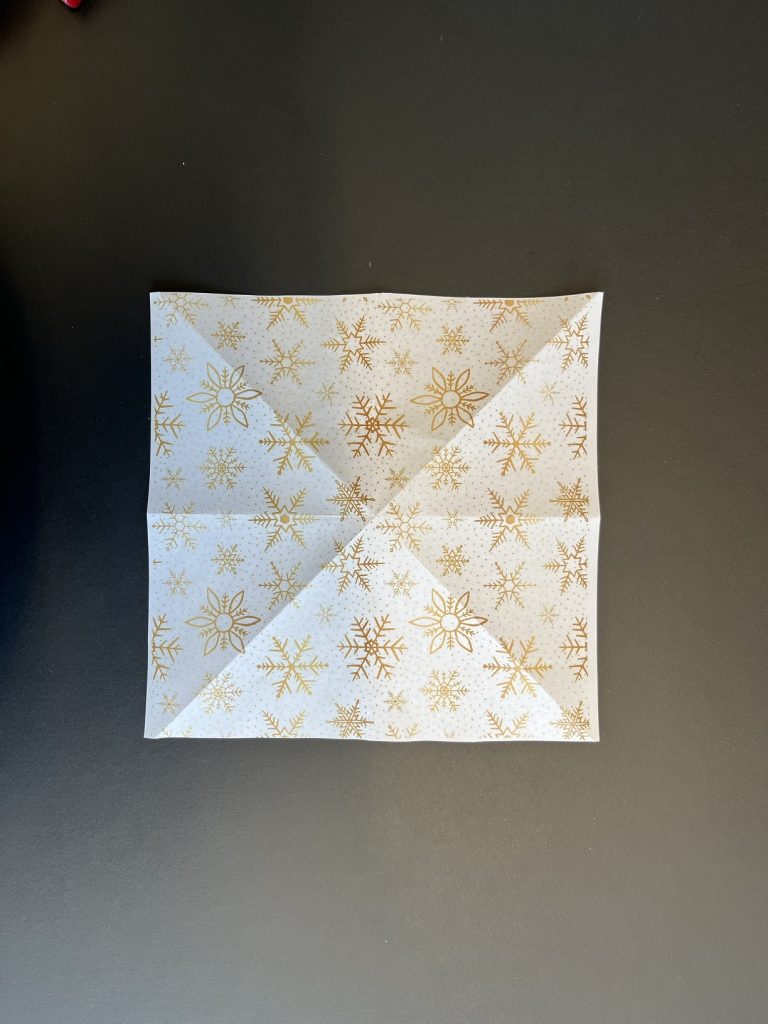
- Open out and lay flat with the white side facing up. Using the creases you have previously made bring the top 3 corners down to meet at the bottom corner. Press flat. You should now have a diamond shape.

- Fold the sides in to meet at the center crease.
- Flip over and repeat on the other side. You should now have an upside-down kite shape.
- Open one of the flaps back out and flatten. Take the outer edge and collapse it by folding it into the center.
- Repeat for the other side.
- Flip it over and repeat steps 8 and 9.
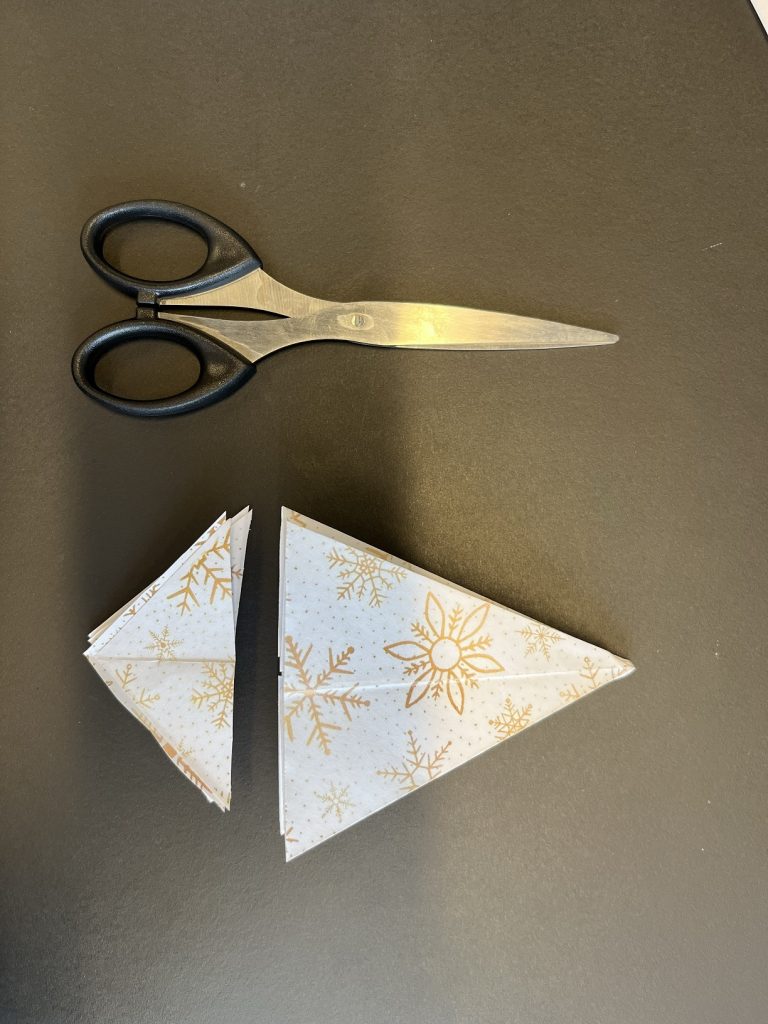
- Now take a pair of scissors and cut the bottom point off your kite. To make it easier fold the top layer back to make a triangle and use this as a guide.
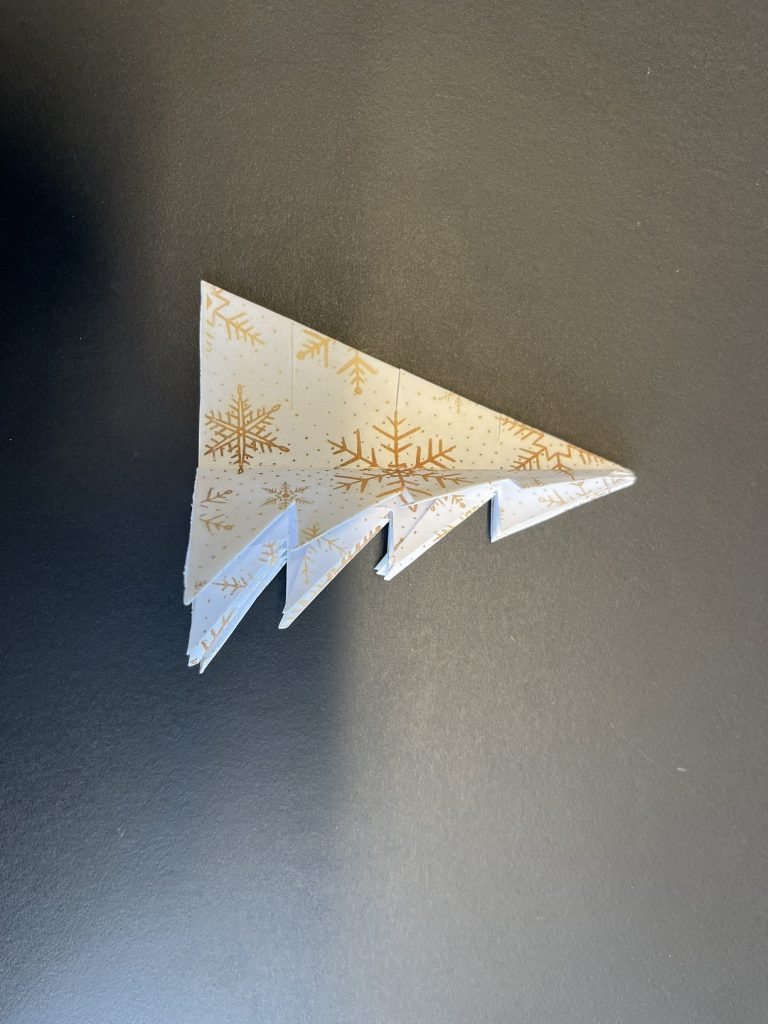
- Using a pair of scissors cut 3 horizontal lines on each side of the triangle. These will make your branches.
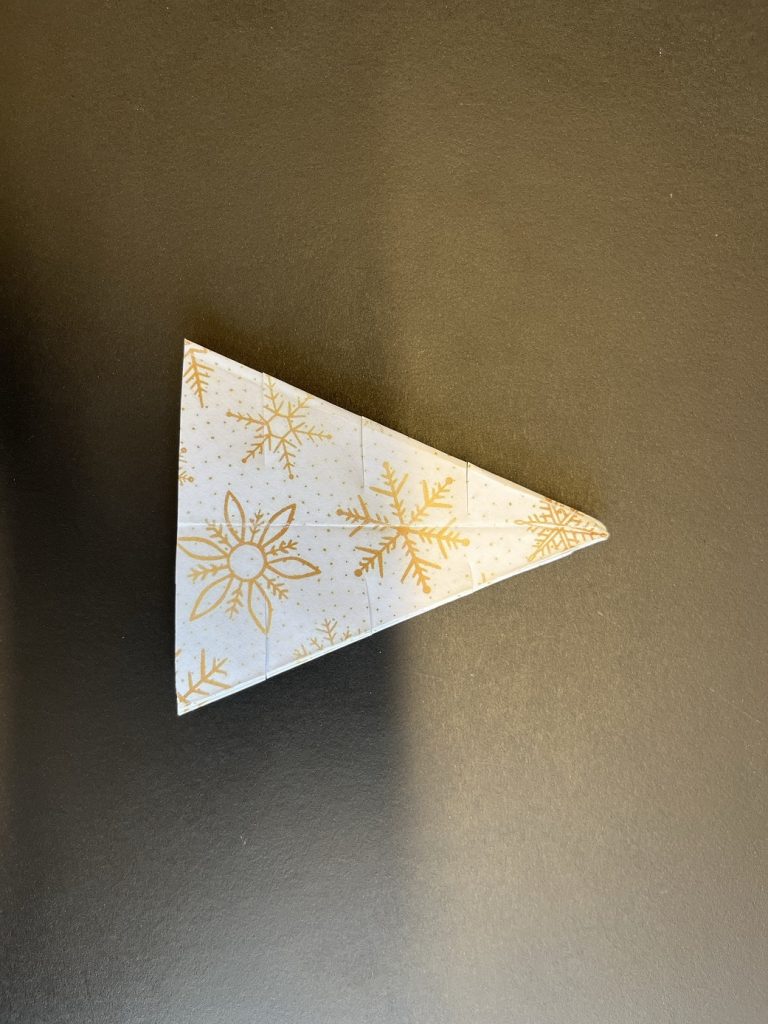
- Starting from the right fold each cut line down to make a small triangle. Fold to the left like a page and repeat by folding down each cut line on the right.
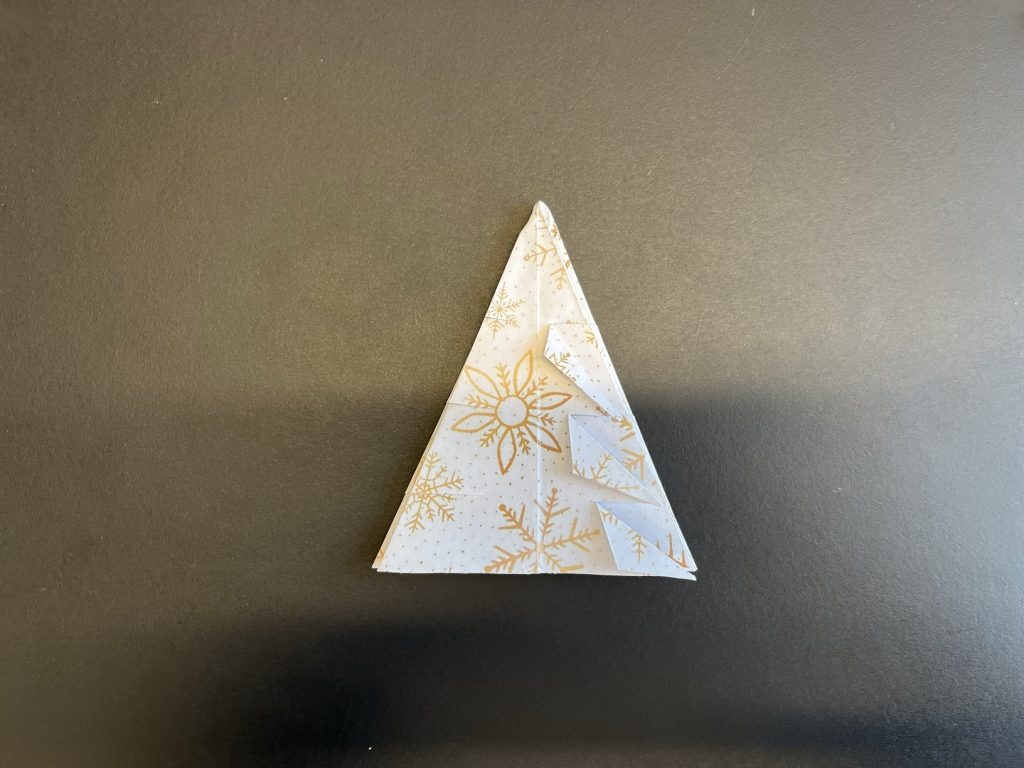
- Keep folding and turning until all the branches have been folded. When you reach the end flip it over and repeat on the other side.
- Enjoy!
Click here to download the beautiful print we’re using in this tutorial: http://bit.ly/redecor_origami


